LED Signage Power Supply and Adaptor Capacity Guide
LED signage looks simple from outside, but internally, the power adapter selection plays a major role in performance, brightness stability and long-term durability.
Many signage failures in Delhi NCR projects happen not because of poor LEDs but because of the following:- Wrong adaptor capacity
- Adaptor overload
- Long wire distance from adapter to LED
- Poor ventilation
If you want your glow sign board, channel letters or ACP signage to last 3–5+ years without flickering or adapter burning, this guide will help.
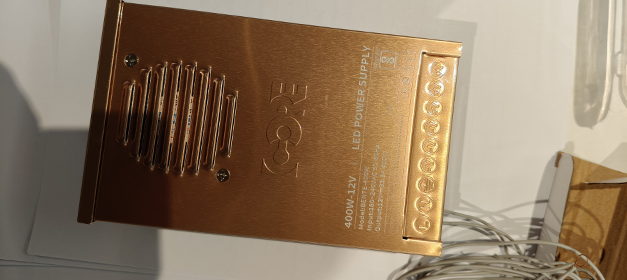
1. Understand LED Module Power Consumption
Every LED module has:- Voltage (mostly 12V DC or sometimes 24V DC)
- Wattage per module (example: 0.72W / 1W / 1.5W, etc.)
- 150 LED modules
- Each module = 0.72W
Total Load = 150 × 0.72 = 108 Watts
Now here is the mistake people make.
They install a 100W adapter for a 108W load. That is wrong.
2. Always Add 20–30% Extra Capacity
The adaptor should never run continuously at 100% load.
Correct Formula:Total LED Load × 1.25 (minimum)
Using the above example:
108W × 1.25 = 135W
So the correct adapter choice is a 150W adapter.
This ensures:- Stable brightness
- Lower heat
- Longer adapter life
- Reduced risk of burnout
3. Why Adaptor Placement Near Output Is Important
This is a very critical but often ignored factor.
When the adapter is placed far away from the LED:- Voltage drop happens
- Wire resistance increases
- Current loss occurs
- Adaptor works harder
- Heat increases
- Dim LED at end
- Flickering
- Adaptor overheating
- Early adopter failure
4. What Is Voltage Drop?
When DC travels a long distance through wire:- Resistance of copper wire reduces voltage.
- The LED at the far end may receive 10.5V instead of 12V.
LED brightness becomes uneven
This is common in:- Long ACP sign boards
- Large rooftop signage
- Mall fascia signage
5. Correct Installation Practice
Keep Adaptor Close to LED Cluster Install adapter:- Inside ACP cavity
- Behind channel letter backing
- Near sign body
- Use thicker copper wire (1.5 sq mm or more)
- Use 2–3 smaller adaptors
- Divide LED sections
- Voltage drop
- Heat concentration
- Maintenance risk
6. Overheating – The Silent Signage Killer
When the adapter runs at full load:- Internal components heat up
- Capacitor life reduces
- Power fluctuates
- LED flickers
In Delhi NCR outdoor conditions (45°C in summer) poor ventilation + overloaded adaptor = early failure.
7. Indoor vs Outdoor Adaptor Selection
Indoor Signage- SMPS adapter
- Basic IP rating acceptable
- Proper airflow required
- IP65 / waterproof adapter
- Rust-resistant casing
- Proper sealing
8. Common Mistakes to Avoid
- Using low-quality local adapters
- Matching adapter watt exactly equal to LED load
- Placing adapter far from signage body
- No ventilation
- Using thin wires
9. Quick Selection Guide Table
| LED Load | Minimum adapter required. |
|---|---|
| 50W | 75W |
| 100W | 150W |
| 150W | 200W |
| 200W | 250–300W |
Always keep spare capacity.
Real Example from Signage Projects
In many channel letter projects, the adapter was placed inside the ceiling far from the sign.
After 6 months:- Letters started flickering
- Adaptor burned
- Customer blamed LED quality
Voltage drop + overheating due to distance and overload
Final conclusion
To choose the right adapter capacity for LED signage:- Calculate exact LED wattage
- Add 25–30% extra buffer
- Keep adapter near LED output
- Use proper wire thickness
- Ensure ventilation
- Divide load for large signage
A small technical decision today can prevent costly maintenance tomorrow.