LED Lighting Design Guide for Liquor Display Racks
In liquor retail, display is everything. A customer may enter the shop with a fixed brand in mind, but good lighting can make them notice premium bottles, new launches or higher margin products.
Many shop owners think, “LED light consumes less power, so we can put strip lights on every shelf.”
Yes, LEDs consume less power compared to old tube lights, but if you fix LED strips in each shelf of the rack, the total electrical load will increase.
So while designing a liquor display rack, we cannot ignore electrical load. At the same time, we also cannot design the rack only based on load. It is very important to find the right balance between safety, lighting effects and power use.
Let's explore the most effective LED lighting methods used in Indian liquor display racks.
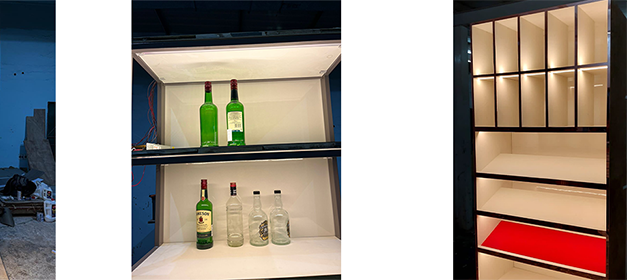
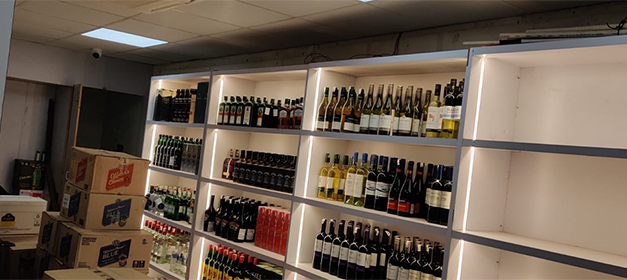
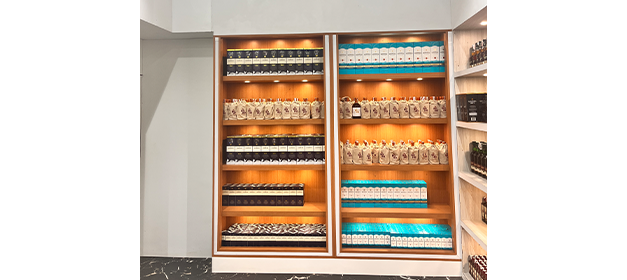
In this method, an LED strip is installed beneath every shelf.
There will be LED strips under all five shelves if there are five of them.
Pros:
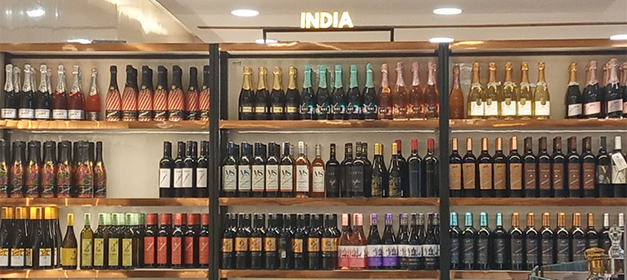
- Provides bright and uniform lighting.
- Each bottle clearly visible
- Premium showroom feel
- Good for high end liquor stores and malls
Disadvantages:
- More LED strips = more wiring
- Electrical load increases
- More driver/adapter capacity required
- Maintenance cost slightly higher
This method looks attractive but power calculation must be done properly. Wrong adapter capacity may cause overheating.
Side Vertical Lighting LED on Both Sides
Here, LED strips are fixed vertically on both sides of the rack instead of each shelf.
Advantages:
- LED strip usage is reduced.
- Electrical load is comparatively lower
- Creates a strong vertical effect
- Makes the rack look taller
- Very suitable for low ceiling liquor shops
This method is practical for many Indian retail stores where ceiling height is limited. It gives a modern look without increasing too much load.
Combination Method – Bottom + Back Panel Lighting
In this method a bottom shelf strip is used (like Method 1) and one more LED strip is added near the back panel.
Pros:
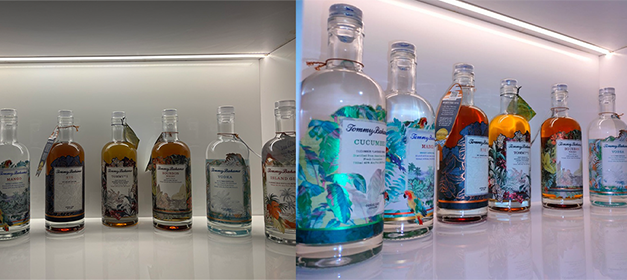
- Labels on bottles that are brighter
- The reflection in the glass bottle gets better
- Looks expensive and high end
- Best for brands that are imported or worth a lot
Cons:
- The most electrical load of all the methods
- Must have good air flow
- Installation cost increases.
Most of the time, this method is used for feature walls or special brand display areas.
Lighting that can be controlled from the front and eye level
This is how it works:- The LED strip goes at the bottom front of the shelf
- One strip is placed above eye level
- Light angle is adjusted so it does not hit directly in the customer's eyes
Advantages:
- Comfortable for shoppers
- No glare problem
- Balanced lighting
- A professional retail look
This is a smart way for a store owner to get the right amount of light without bothering customers.
Key Technical Things to Keep in Mind
- Each LED uses less power on its own, but the total load depends on how many meters of strip are running.
- Always find out the total wattage before choosing an adapter.
- Make sure the driver's capacity is a little higher than the load it needs to carry (with a safe margin).
- Don't overload the adapter because it will get too hot.
- Use good quality wire and proper connections.
- Keep ventilation space inside rack.
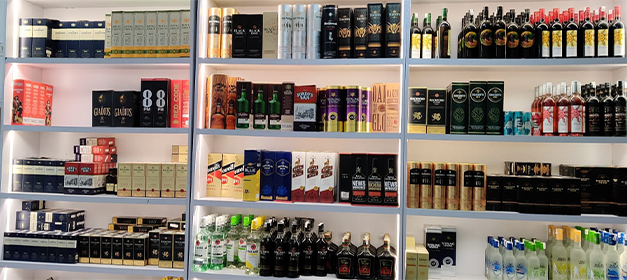
In many Indian liquor shops, racks are made first and electrical planning is done later. This creates a problem. Lighting design should be planned during the rack design stage.
Final Conclusion
Light placement in a liquor display rack is not only about brightness.
- Bottle visibility
- Customer comfort
- Store ambiance
- Electrical safety
- Maintenance cost
- Power consumption
- Shop size
- Ceiling height
- Budget
- Type of brands displayed
- Available electrical load
A balanced lighting design always gives better long term results than over lighting.
Explore more Signage Services like Retail Display Rack, Glow Sign Board, Vinyl Printing and Channel Letter Signage.